Capturing Truly Raw, Unmodified, Interlaced DV With iMovie HD
©2010 Darel Rex Finley. This complete article, unmodified, may be freely distributed for educational purposes.
If I have to spend a few hours searching the internet for the answer to a question, then it’s time for me to make a page that very specifically answers that question.
Do you have this problem: When you try to capture interlaced DV with iMovie HD, no matter what you do, no matter how you export the video (DV Stream, Full Quality, QuickTime Movie, anything) it deinterlaces the video, when all you wanted to do was capture the raw DV, totally unmodified so you could preserve it forever on backed-up disc archives?
Here’s the exact solution:
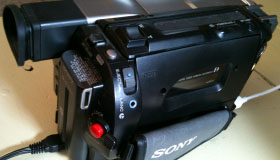
| 1. With iMovie HD not currently running on your Mac, connect your DV camcorder to the Mac via Firewire (IEEE 1394). Connect the camera to a power source, and turn the camera on, in its “VCR” mode (not its camera mode). |
| 2. Launch iMovie HD and click the button to create a new project. |
| 3. When the project pops up with a video panel and whole bunch of little clip panels, the video panel will be blue and will have an Import button, indicating that your camera has been recognized. Click the Import button. The camera will start playing automatically, and you will see the video coming in, playing in the video pane, and appearing, shot-by-shot, in the clips area. (The video playing in the pane will be de-interlaced — don’t worry about that.) After several clips have been recorded (depending on the size of your hard drive), you should click the Stop button. |
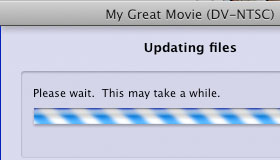
| 4. Click once on any of the clips, and then wait for the long post-import processing to complete. |
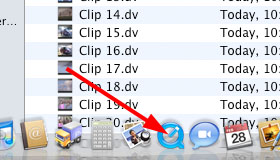
| 5. Select the video clips you want, and drag them out of the iMovie HD window and into a folder where you want them to go. They will then be copied to that folder, named “Clip 01,” “Clip 02,” etc. (Notice how super-fast that is, compared to doing any kind of Export of your video. Nice. Not only is it very convenient, but it’s an indication that the video is being straight-copied, not reprocessed.) |
| 6. Quit iMovie HD without saving your project. (Any clips you didn’t drag out are lost unless you re-import them from your camcorder later.) Trash the movie project; it’s not needed. |
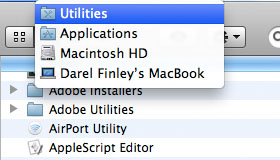
| 7. Find the QuickTime 7 player on your Mac. If you have QuickTime 10, then you will need to look in Hard Drive > Applications > Utilities where QuickTime 7 is hiding. |
| 8. Drag one of your clip files onto the QT7 player and it opens up. Click the play button. Notice that it’s de-interlaced. Horrors. But all is not lost. |
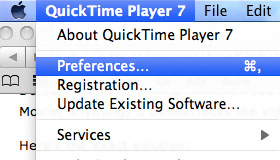
| 9. In the QT7 player, choose QuickTime Player 7 > Preferences. |
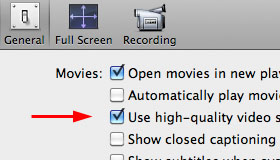
| 10. Check the “...high quality...” checkbox. |
| 11. Quit the QT7 player, then drag a clip file onto it again to relaunch it. Presto. Your video is interlaced and full quality. It was there all along. The QuickTime player just wasn’t showing it to you. |
Send me an e-mail!
Back to Tutorials.